
 Subscribe / Back Issues
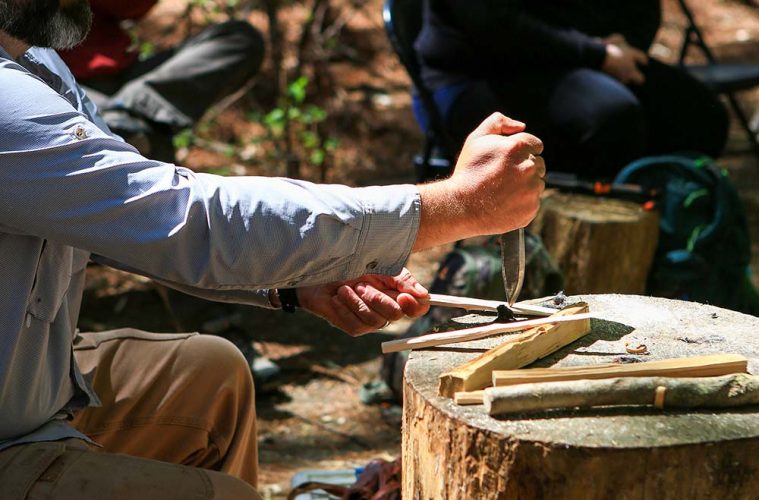
THE RANDALL’S ADVENTURE & TRAINING PARENT-CHILD CLASS EMPHASIZES KNIFE SKILLS
It has been said that a knife is the number one tool most people would choose if they had only one piece of gear. A knife is a tool that can be used to make things you need, including other tools to improve many situations. Training knife skills should be done under the watchful eyes of skilled professionals and parents if you’re in a parent-child class.
“Basics are essential to the success of this class, where cutting yourself could be detrimental and possibly class- and trip-ending.”
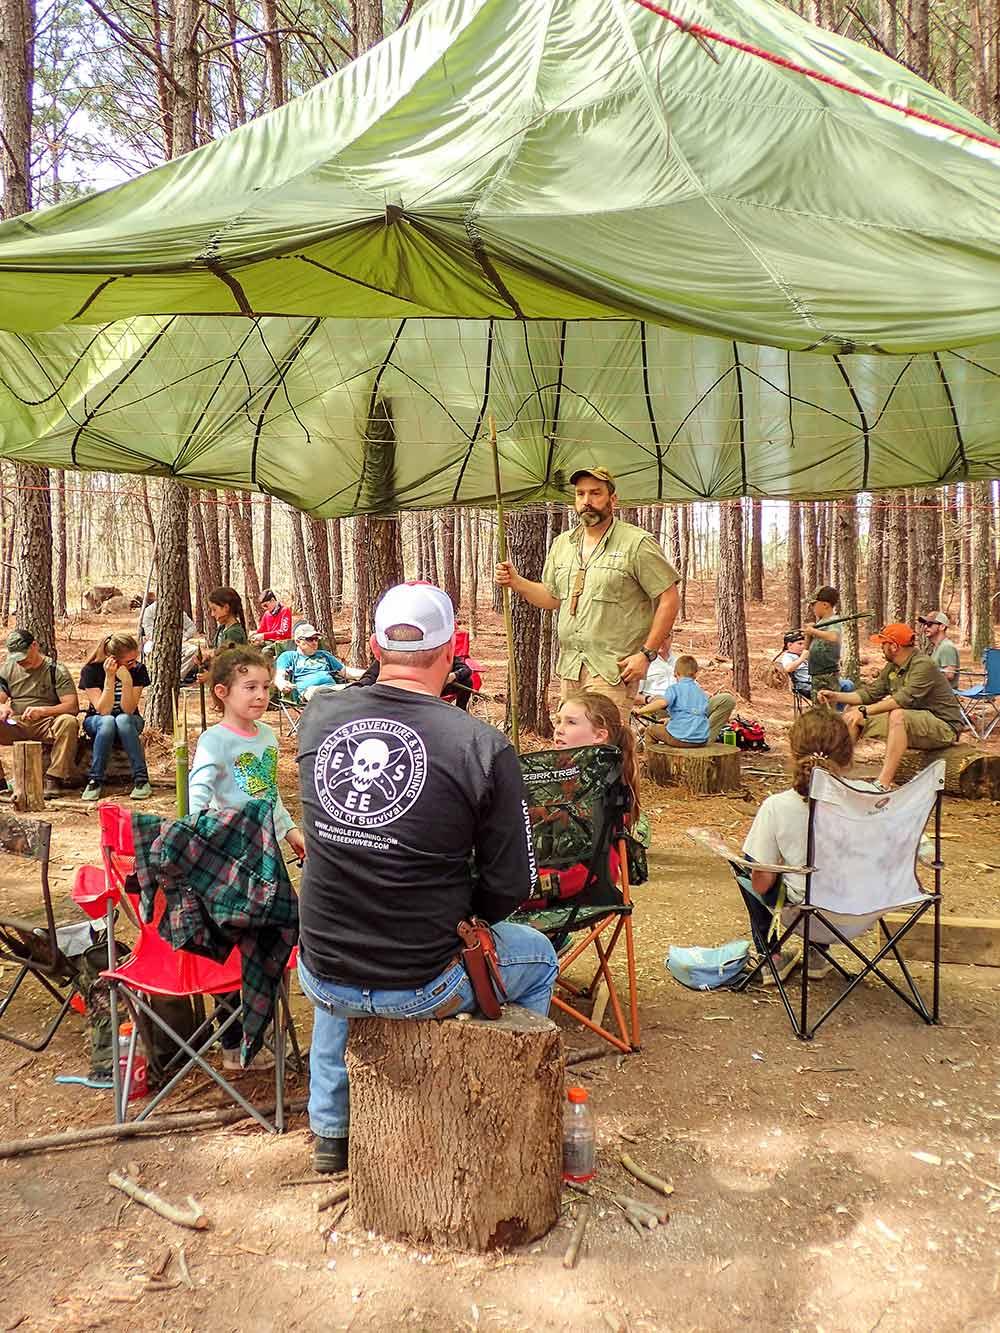
The parachute at Randall’s Adventure & Training is where most of the class skills are taught. It’s a close-knit group where all are welcome, and all questions are welcomed.
KNIFE TRAINING
Randall’s Adventure & Training offers several wilderness skills classes with a wide variety of choices. The school has deep roots in the Peruvian Amazon, teaching multi-day jungle survival classes. In 2009, the school held its first stateside class in Fort Payne, Alabama. About 13 years later, the school has several ropes classes, wilderness first-aid classes, search and rescue classes, and various survival classes to name a few. In covering all the bases, the school’s Parent-Child class is heavy on knife skills and safety.
Prizes and loaners were courtesy of Bear Forest Knives at the last Parent-Child class in Alabama. These classes are the best way to try other knives and see what works.
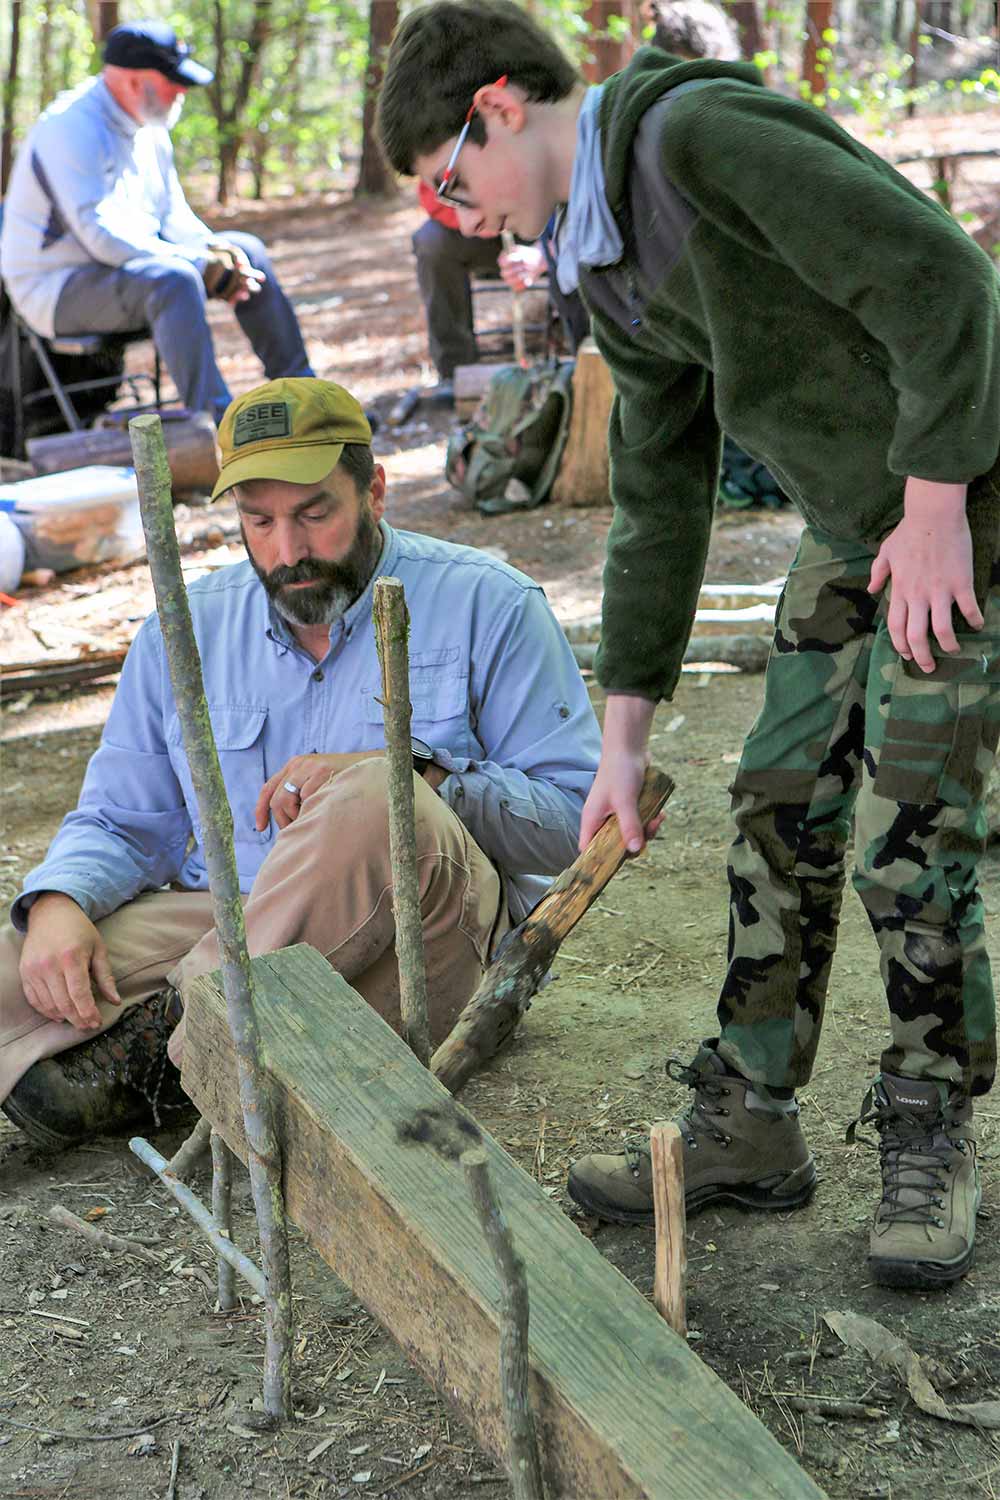
Safety is the first order of business once the class gets situated. Basics are essential to the success of this class, where cutting yourself could be detrimental and possibly class- and trip-ending. The lead instructor, Patrick Rollins, covers fixed-blade basics starting with taking a knife out of the sheath, where to hold it, and overall awareness.
Passing a knife safely is also given a fair amount of attention as cuts can happen when sharing and passing knives to others more frequently than people think.
The old Scout safety circle (blood circle) is taught to describe the area within the radius of the arm and blade length combined when using a knife or any cutting tools. The blood triangle is also discussed as a way of being safe when sitting and using a knife.
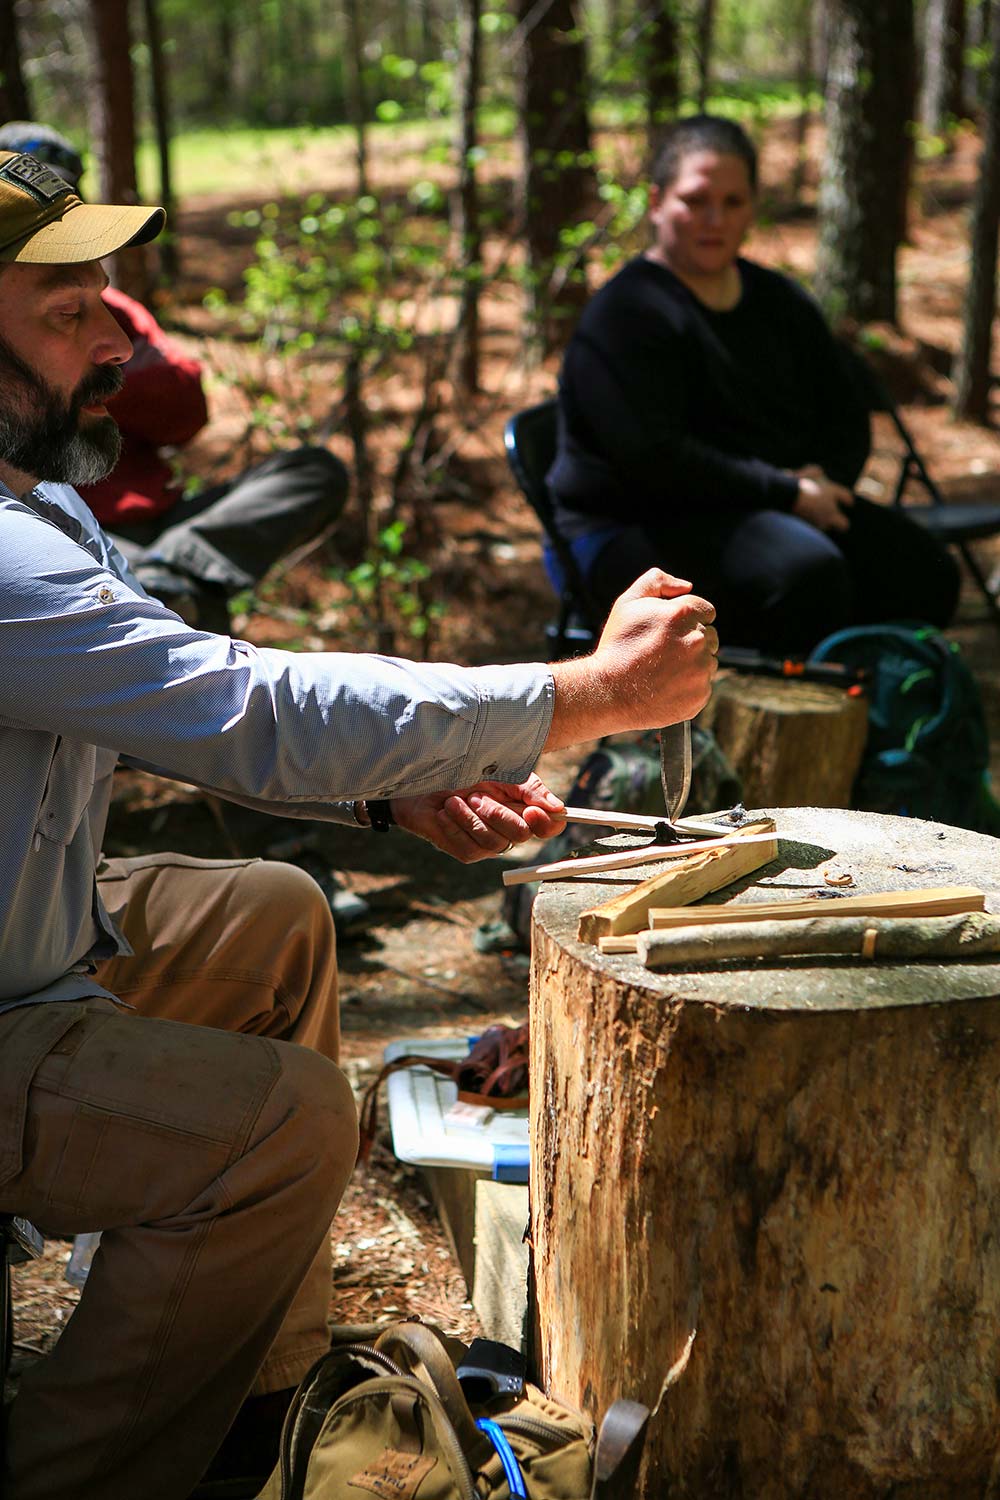
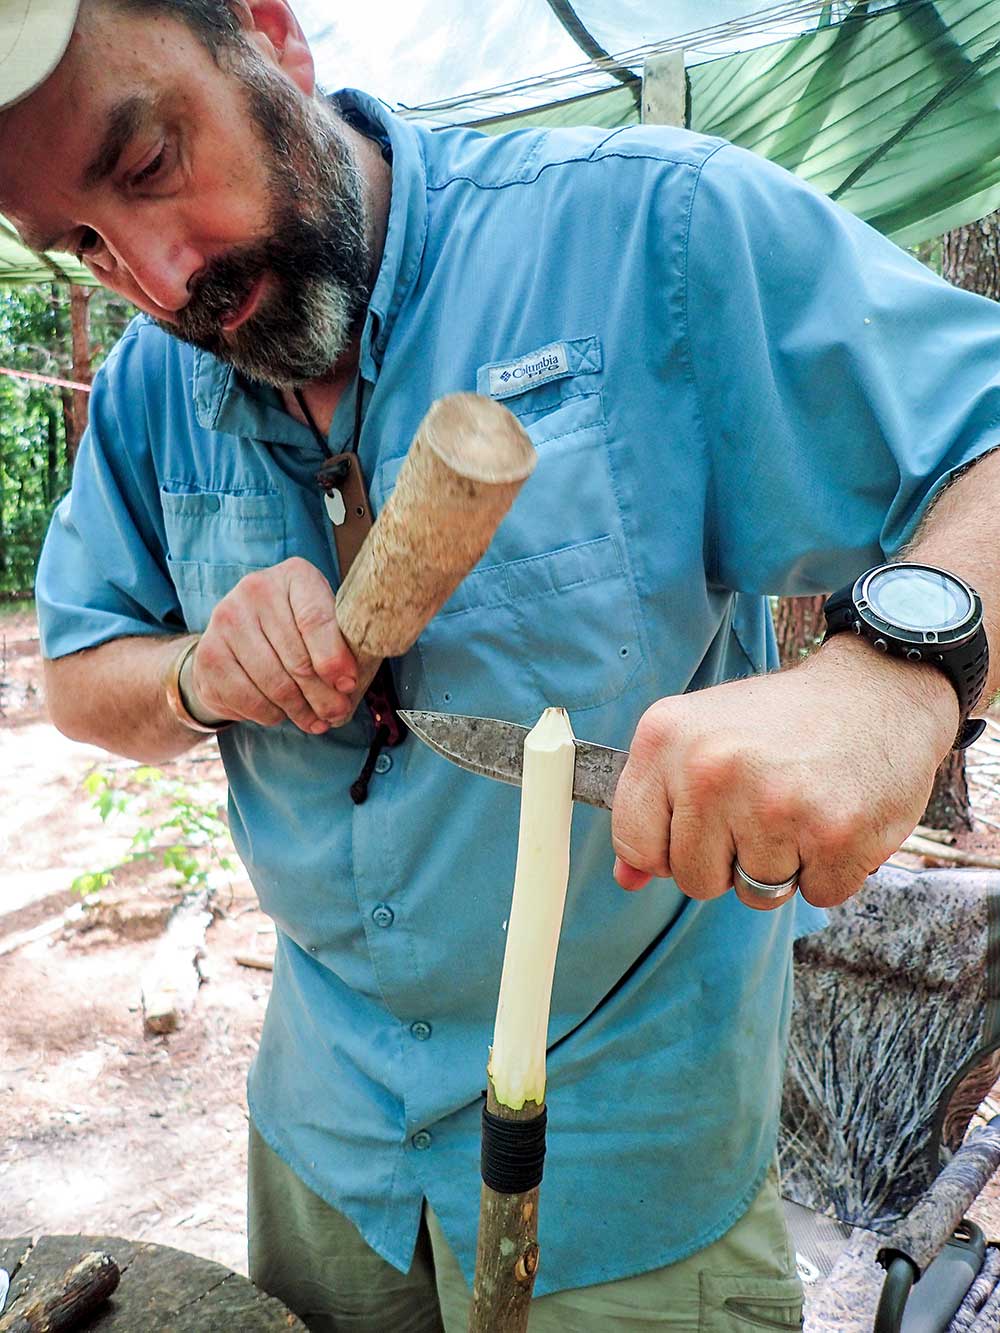
Lead instructor, Patrick Rollins, demonstrates how to split wood into smaller, finer kindling. Using an icepick-grip, thumb on the butt of the knife, the tip is poked into the wood to make splits.
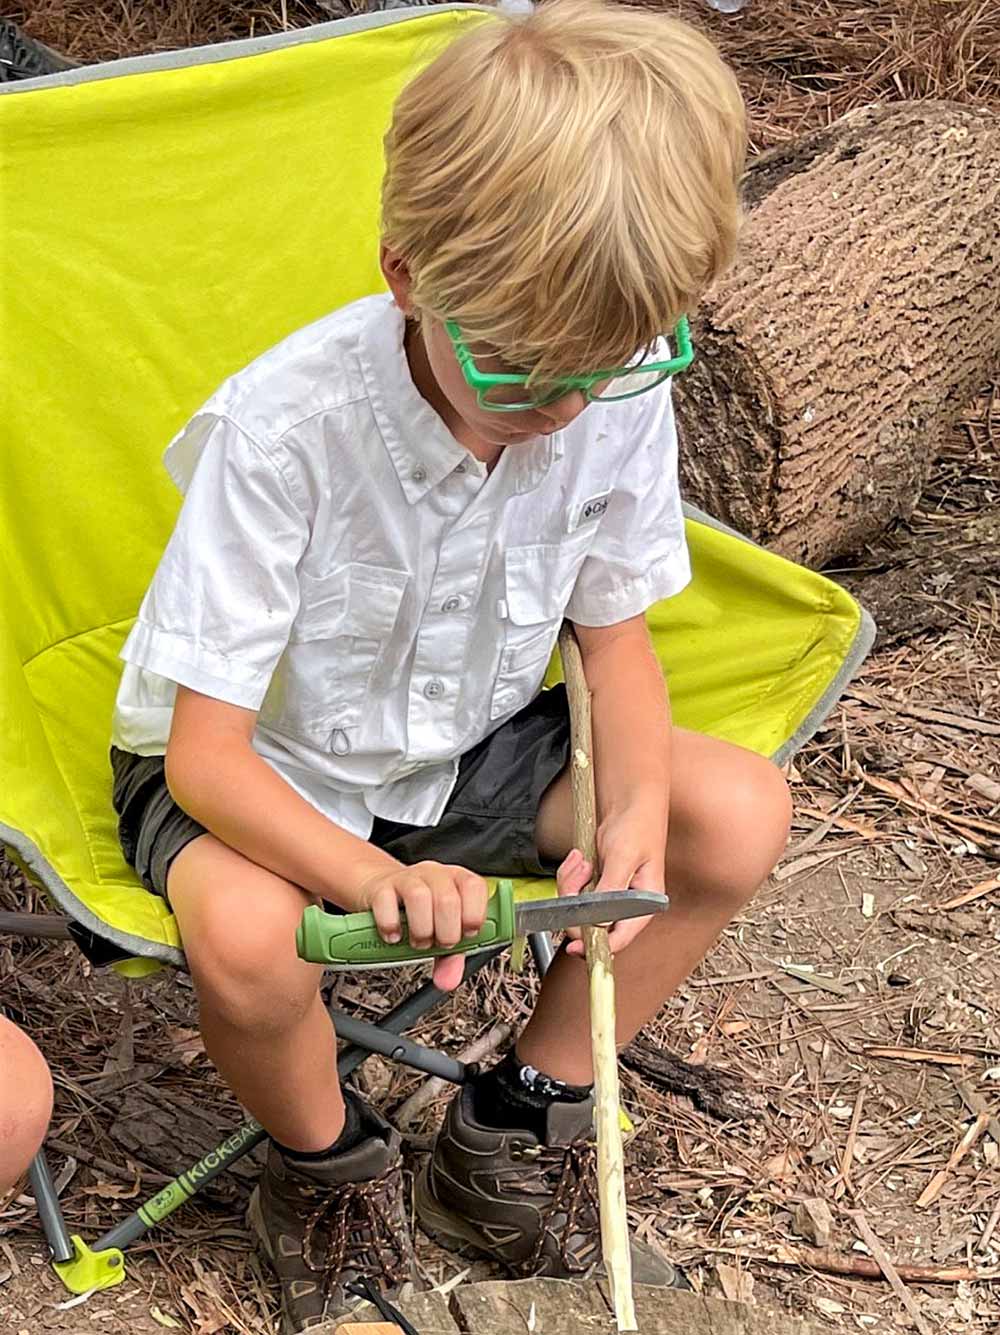
Instructors make sure students, young and old, understand not to use their bodies in any way as a backstop for cutting, to keep the knife away from arteries in the leg, and to always cut away from yourself. A forward (fist, forehand) grip, chest-lever grip, and thumb-assisted push cuts (with the non-knife hand) are then demonstrated.
PROJECT FIRE
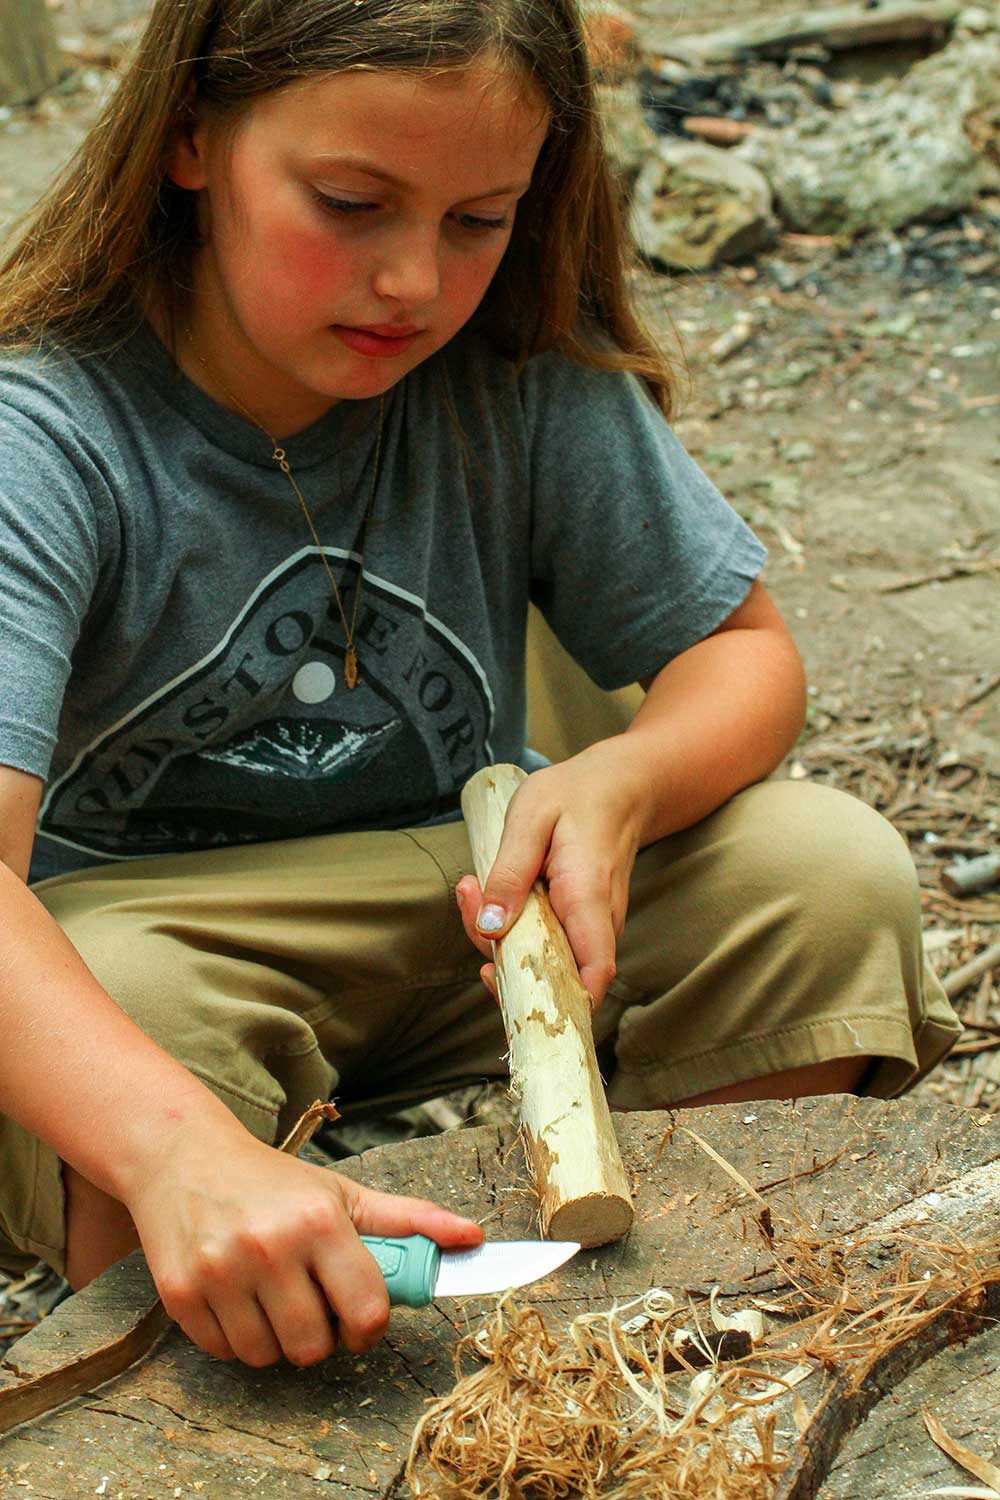
The types of projects students in the Parent-Child class can expect are not that different from the projects taught during the extensive multi-day classes. Traps, fire preparation involving splitting wood, and carving notches are all done with a fixed-blade knife and sometimes a saw.
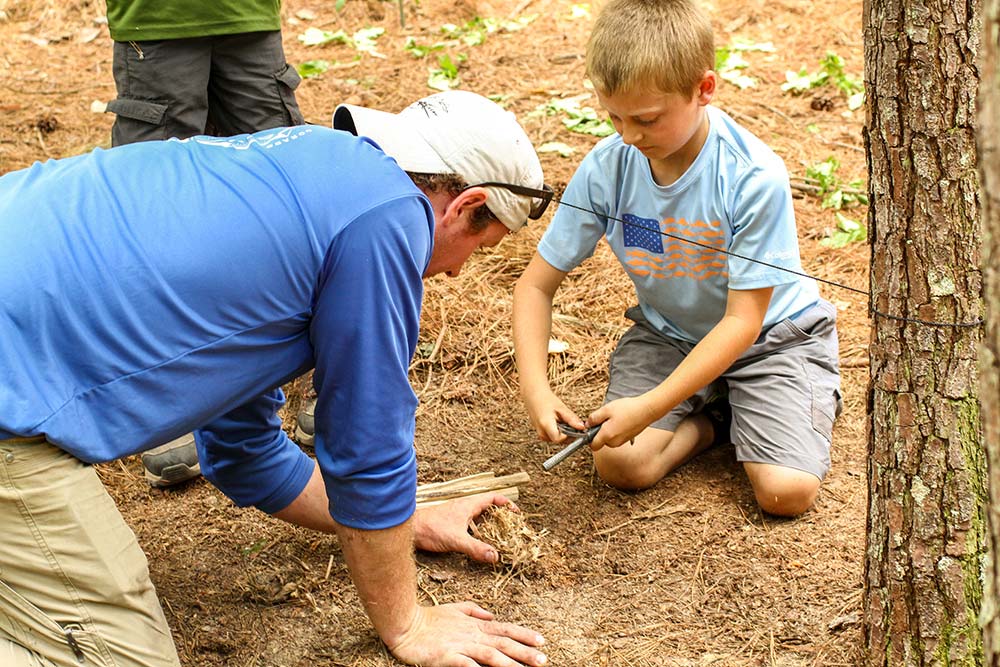
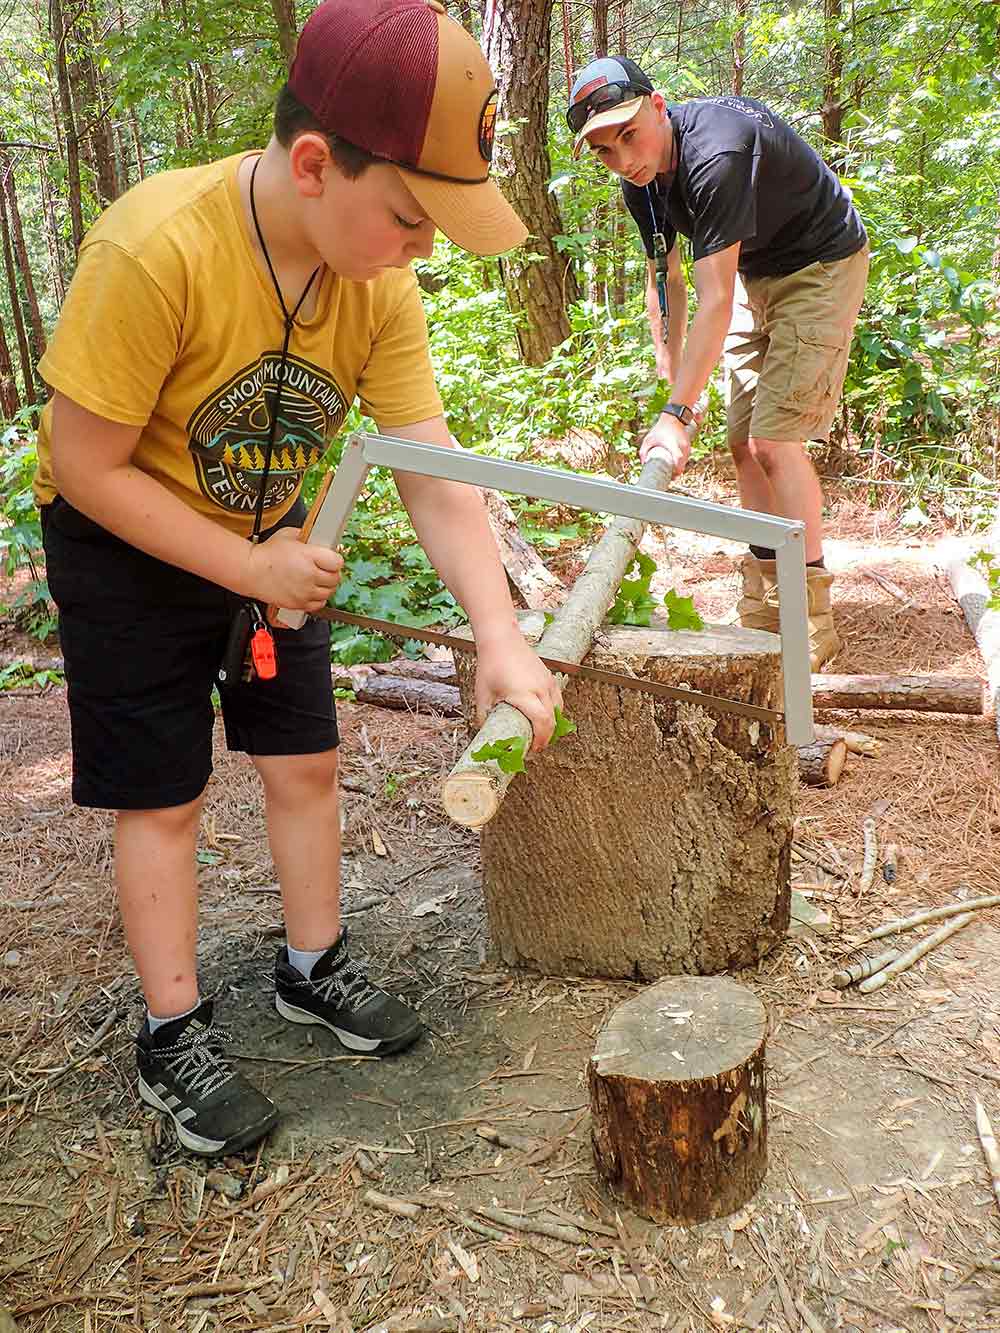
One-stick Fire is a common practice where a person has to make fire from one good-sized piece of wood. First, they learn how to make a baton. Even though any stout stick will serve as a baton, valuable lessons are learned by making a baton that uses a saw and another stick with some knife whittling. Students take turns cutting their batons with a saw as the instructors help.
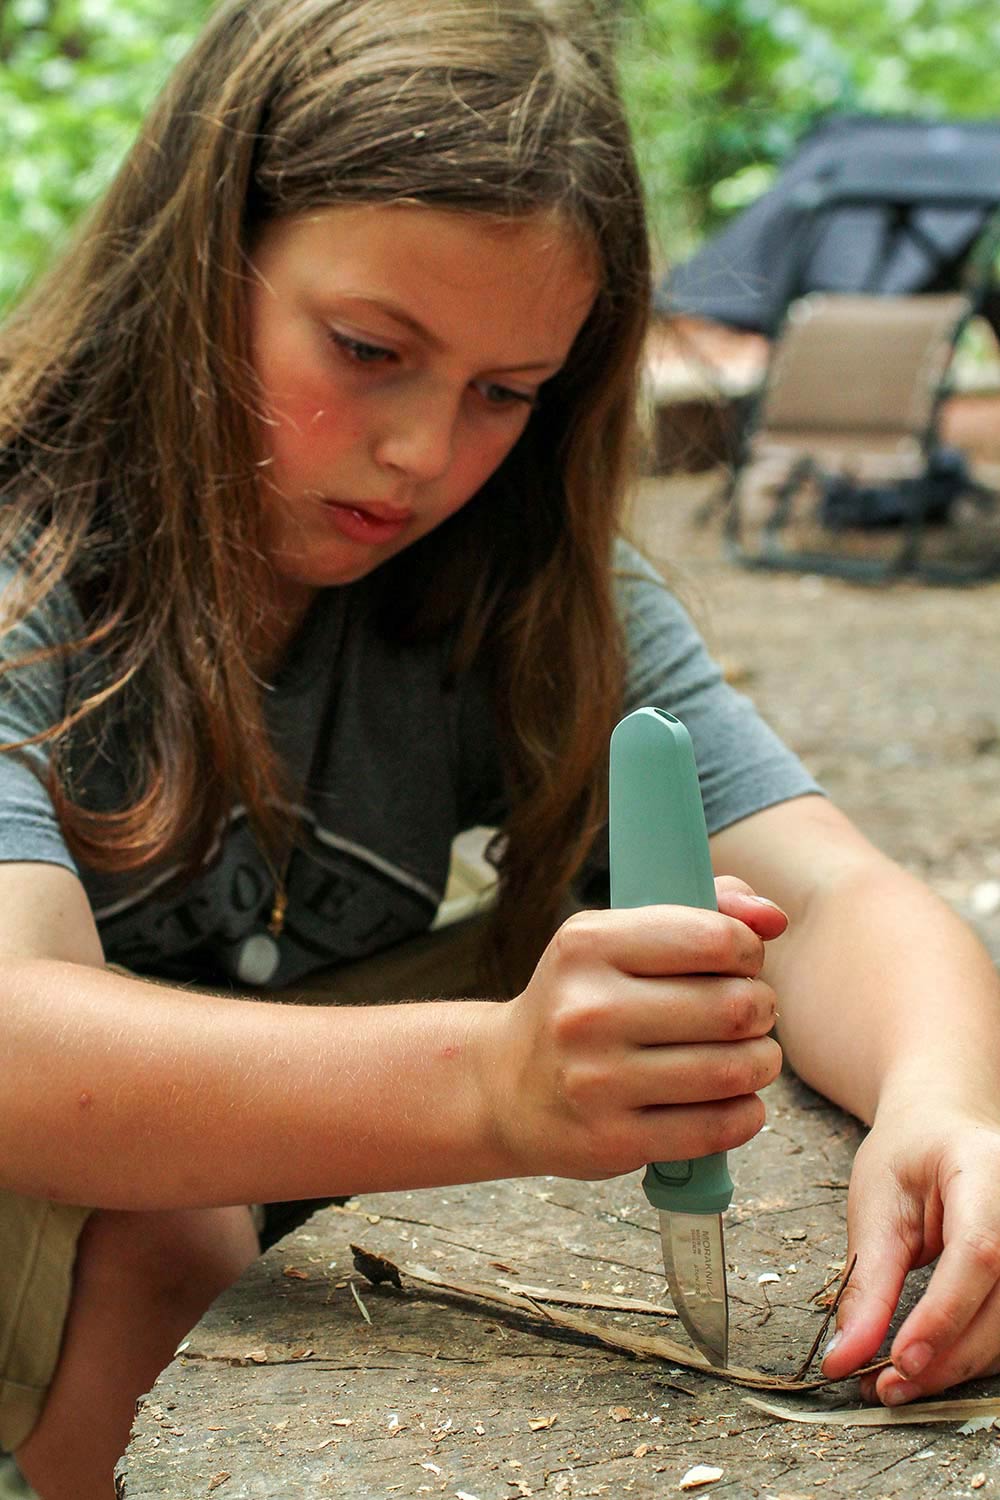
We learn something from every class, like this student who attached the sheath to the Mora Eldris Light Duty for an extended gripping area while splitting poplar bark.
Once they decide if they want a shorter handle and more baton or a longer handle and smaller striking surface, they saw and baton the handle area, chipping it out with a stick. The knife is used to smooth and even out the handle.
Now, they have created their first working tool. This baton is used with a fixed-blade knife to help split wood for their one-stick fire. The splits are slowly reduced until they have piles of toothpick-, pencil-, finger-, and broomstick-thick pieces of wood.
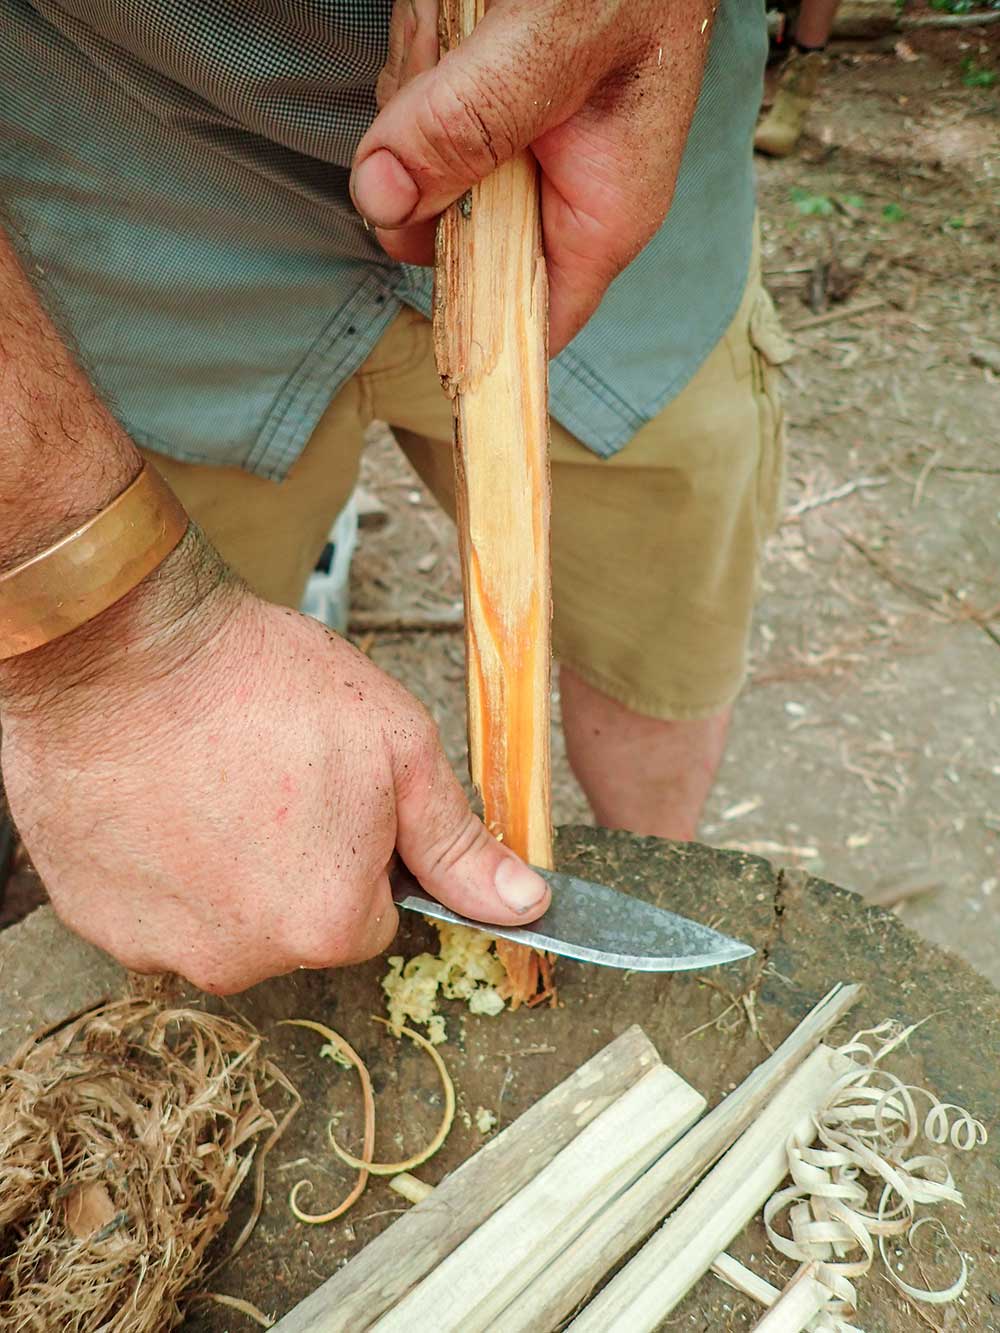
A couple of finger-thick pieces are then used so the students can practice making feather sticks. This is one of those skills that looks easy for the instructors but offers some challenges to beginners.
Much success when making feather sticks starts with selecting the portion of the wood to be cut. A gentle curve with straight grain, knot-free is a good place to start.
Peeling bark from poplar is one of the tasks for making a one-stick fire. There are several ways to accomplish this with a knife spine or blade.
Using a forward grip, place the sharp edge closest to the handle on the wood and lean forward into the cut where the edge barely kisses the wood. Slightly rotate the wood for the next cut, as a flat surface has been created from the initial slice.
It is stressed to resist the urge to place the thumb on the spine or knife jimping area. It causes the feathers to be cut off and offers uneven pressure. This is a skill that will not be mastered on the first day of the class—promise.
Even under watchful eyes, there may sometimes be a mistake that leads to a cut. This student had a cut that stopped bleeding after direct pressure and a Band-Aid. He was able to finish the class with no issues.
All pieces of bark are processed by shredding them. Beforehand, a knife with a sharp spine can be used to shred the bark before splitting. It’s an option.
With the poplar bark and other natural tinders, Patrick explains a few ways to use a ferro rod with a knife or the supplied striker. The students try their luck, and if they are good, they can light feather sticks with a ferro rod.
TRAPS AND POKERS
So many skills are knife-based in a class like this. Traps are usually done on day two, which include the figure-four and L7 twitch-up trap. This is where divided attention comes into play.
Divided attention occurs when the mental focus is directed toward multiple ideas or tasks at once. This results in something lacking or failing. Suppose an instructor is demonstrating something, and people are looking down or trying to jump ahead.
In that case, they won’t fully grasp the concept being taught. It’s important to stop and put knives down or in the sheath before attempting the task.
Students take turns checking to see if their figure-four traps will hold up and trigger correctly. They all do.
Fire competition is another knife skills-based competition where the students use only their knives and baton to break wood down. The spine of the knife was used to strike a ferro rod here.
These two traps tell a lot about how a knife works and its comfort level. As an assistant in this class, I like to teach the figure-four trap. It requires one stick cut into three sections and utilizing six cuts/notches.
Two chisel ends and four L7 notches make this trap easy; however, attention to detail is needed. The baton made on day one can help immensely when making the 90-degree stop cuts for these traps.
Placing the knife blade on the green wood and giving it a few taps will get a sharp blade about a third of the way inside the wood. It’s best not to go too deep at first, weakening the wood.
Batoning a stop cut makes it easier to carve up to the stop cut. Take small bites out of the wood rather than pushing hard and shaving bark off above the notch. The L7 twitch-up trap uses a stake with a seven notch hammered into the ground and a bent sapling with another notch (an L notch) carved into it.
One end of a cord is attached to the sapling. The other end of the cord has a nose at one end. Again, this is a prime example of a simple trap utilizing knife skills.
“The students try their luck, and if they are good, they can light feather sticks with a ferro rod.”
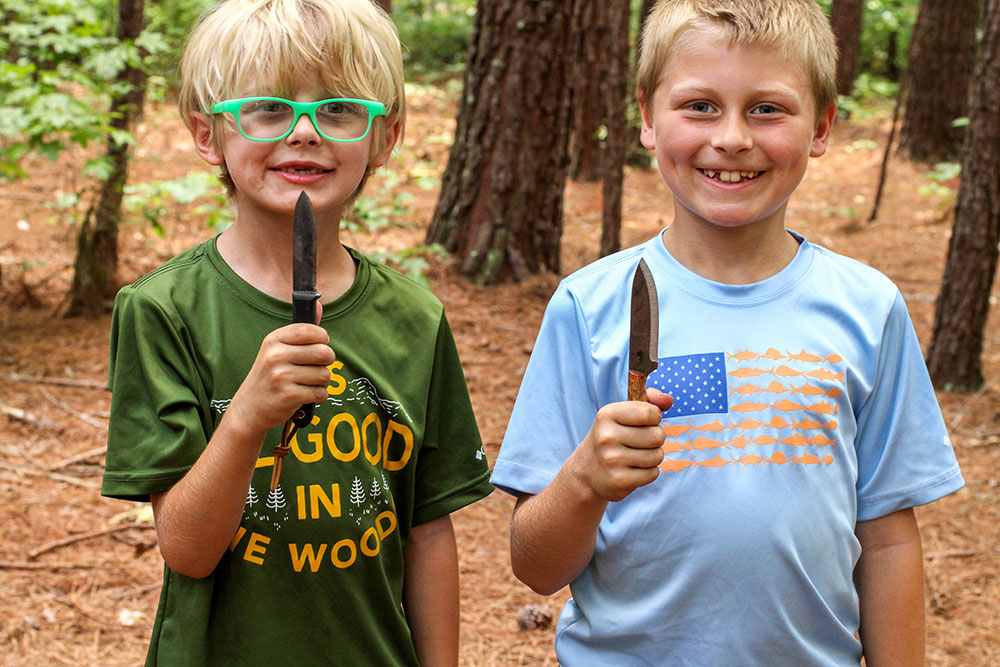
This father/son duo made a complete fish spear with both ends completed in record time.
A fish spear is being made by students here. Controlled cuts are made with a fixed-blade knife honoring the blood triangle and blood circle.
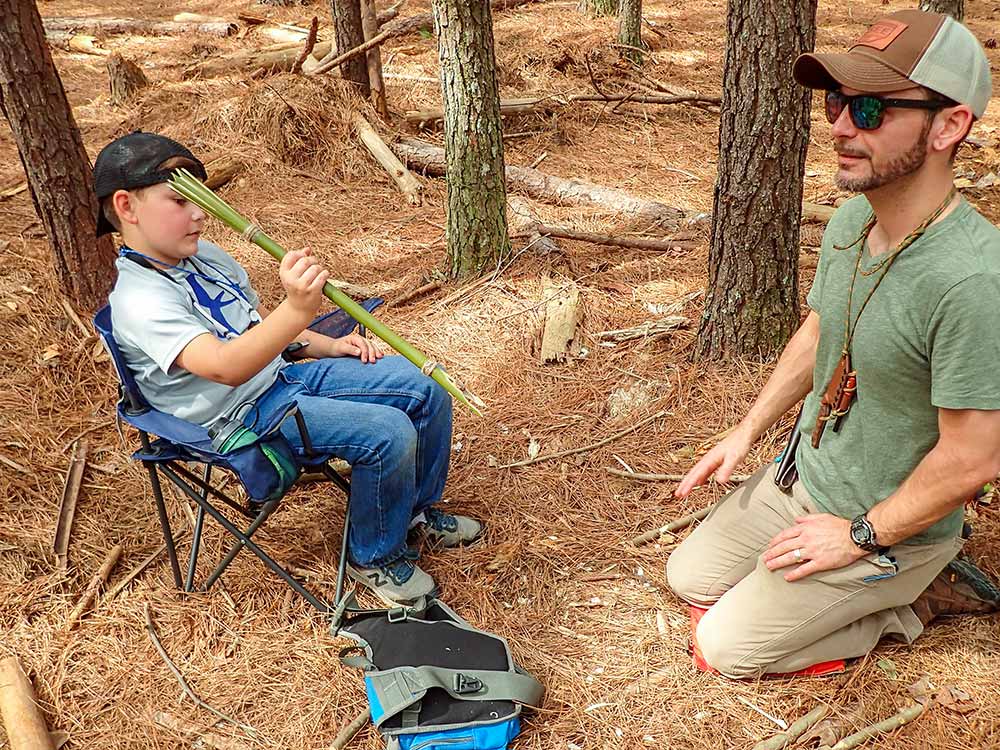
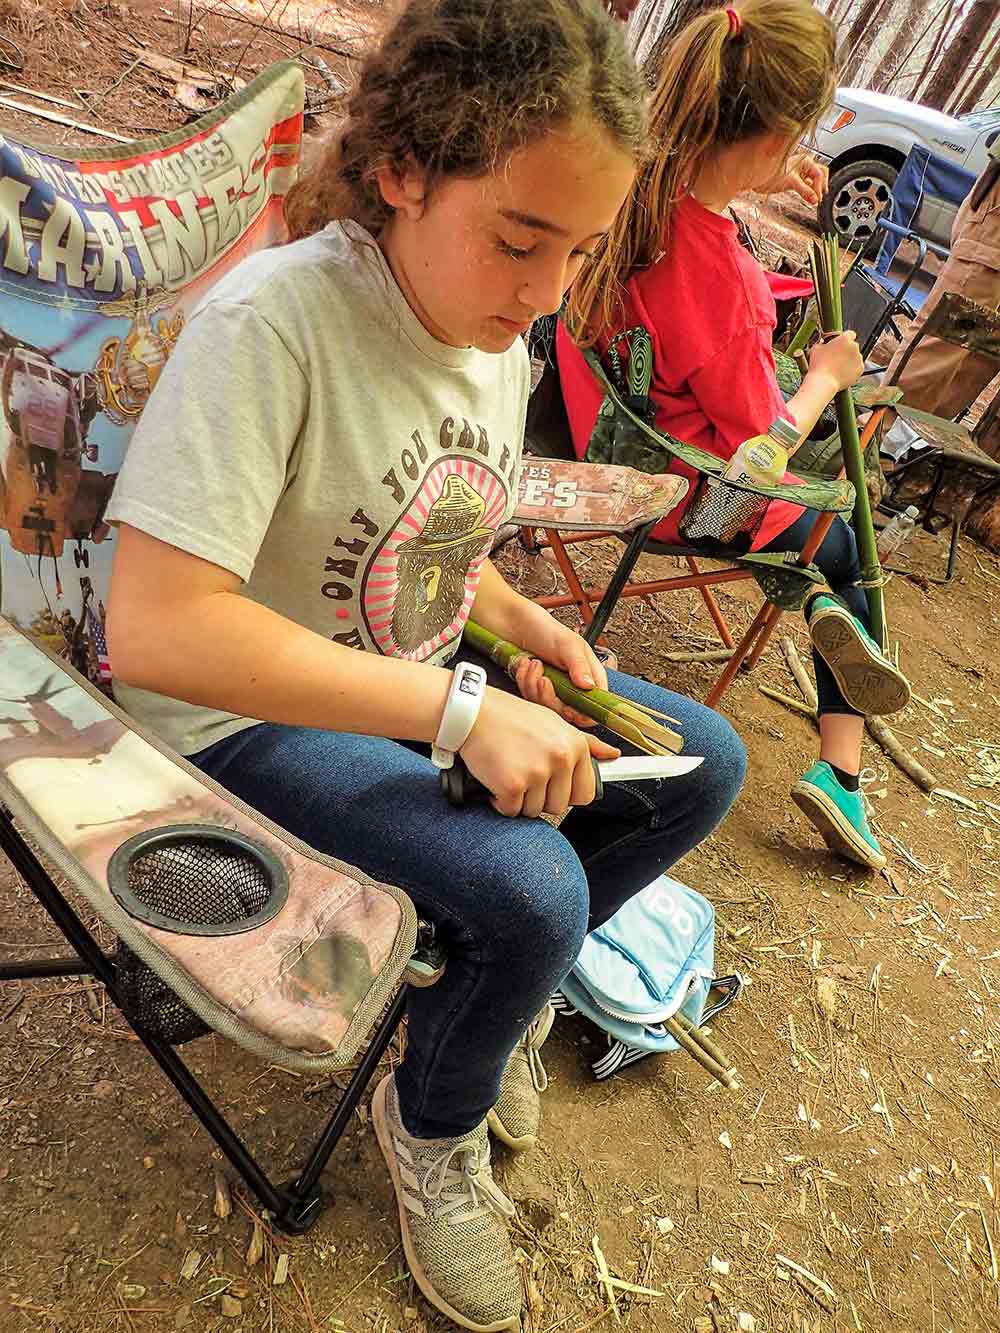
Fish/frog gigging spears are made with a knife during this class for practice only and survival if needed. Usually, rivercane is procured for this type of spear because it is abundant and splits well. A knife is used to split the top of the rivercane and make several sharp prongs. A piece of a stick is used to stuff into the split like a plug. It gets pushed down by another stick to hold the prongs open.
Cordage is attached under the splits to further prevent spitting. The other end of the spear will have two main prongs held open with a piece of wood. Barbs would be carved into them, with cordage attached at the split. Normally, these would be two separate long spears, but for practice, the students make both from one pole of rivercane.
Saw use goes along well with knife skills. Although safer than a knife, many cuts can happen from bad form. Reaching over the saw blade is safer.
MAINTENANCE
At this point in a two-day class, knives are dragging and getting dull. This opens people up for injury. A short amount of time is given to sharpening up blades. However, not everyone has the skill to properly sharpen their knives. This is where instructors help out with advice on how to sharpen with whatever sharpeners the students have.
Sharpening tools can be loaned out too. The main point the instructors try to make is that less pressure is more and not to try grinding with hard pressure.

Notches are essential to the knife use and safety program at Randall’s Adventure & Training. This student safely uses his knife with the work/project past his body.
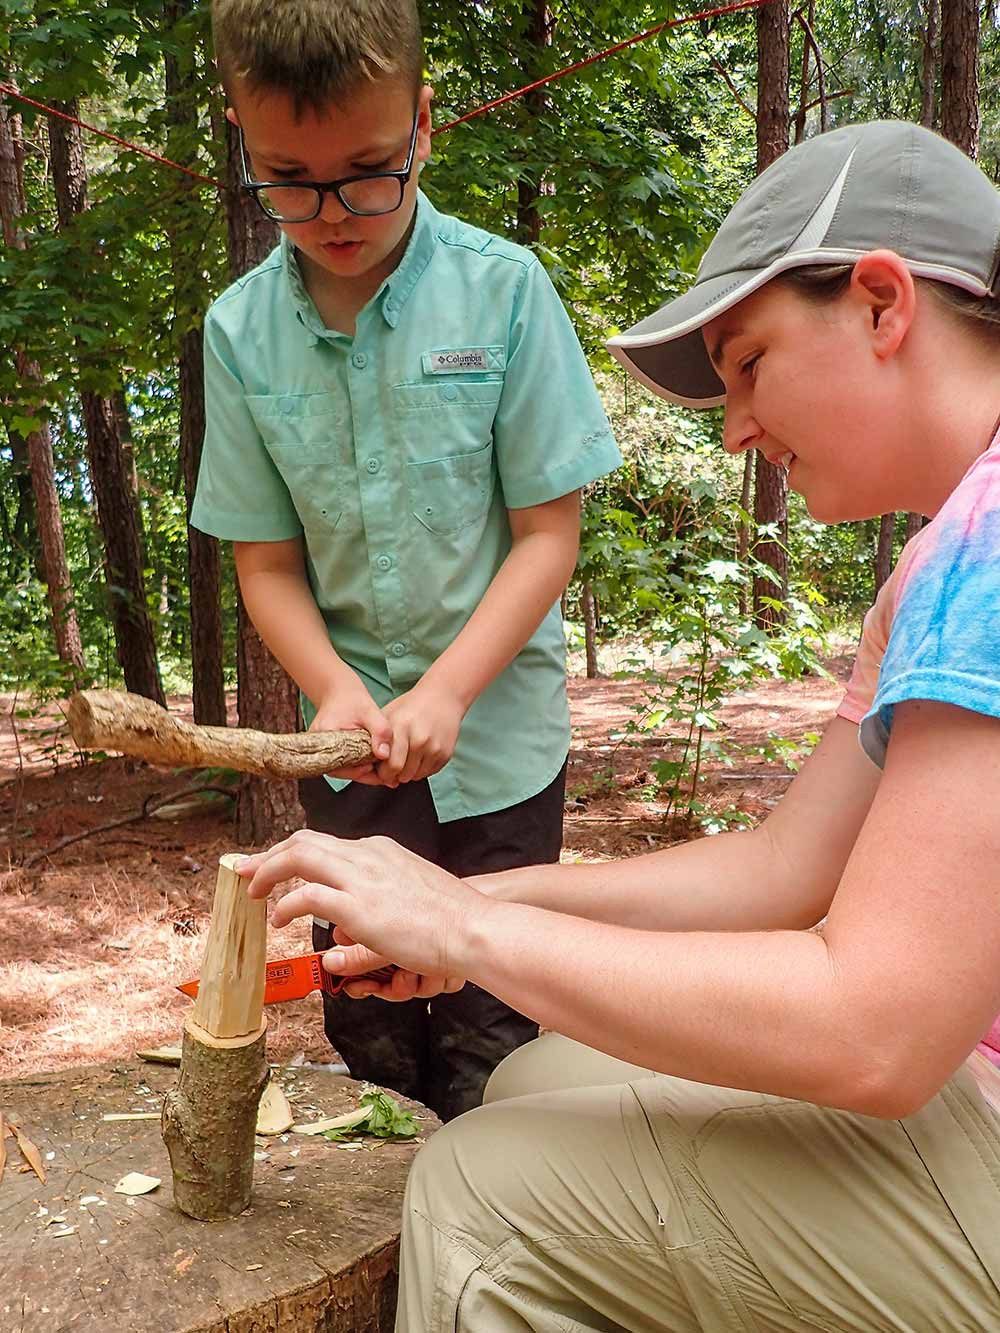
Baton making uses a saw and another stick to form the handle. The knife is then used to smooth out the handle with the blade and the spine if it has a 90-degree angle.
If the students have super dull knives and a serviceable edge can’t be put on, the instructors usually have spares to offer. If nothing more, it gives them a chance to try out another tool they might like enough to get for themselves. Part of the joy in these classes for the students is trying their tools and seeing what others are using.
WHY TRAIN?
Survival skills training is for everyone. Knife skills are only a part of the big picture regarding outdoor skills. However, knife skills are essential, so naturally, time must be devoted to these skills. Like languages, outdoor skills are diminishing skills. We must revisit them and practice regularly.
Taking a class with any good survival school is a good place to start, but that is where the journey starts, not ends. Only through repetition and hundreds of mistakes will any of us students improve. I consider myself an eternal student with no graduation date in sight!
Patrick Rollins demos using a sharp, 90-degree spine of a Bear Forest Knives blade to scrape fatwood for tinder. Students mimic this and try igniting fatwood shavings as well.
Splitting green wood for spears is explained before the students try their hands at it. Using their baton made in the class, they make a functional fish/frog spear they can take home.
TIPS FOR THE TOOLBOX
Forehand (Fist) Grip
This grip is for power cutting, removing a lot of material to reduce wood, and rough shape. The most basic, natural grip we use to secure things is a forehand grip. The knife is held with all fingers curled around the handle like a fist. The thumb is not on the spine. Lock your wrist and elbow, and move from the shoulder as if punching down through the floor. The basic motion looks like slowly shrugging your shoulder.
Thumb-Assisted Push Cut
This grip is also known as a scissor-grip cut. The wood and the knife mimic the scissor’s appearance and movement from an overhead view. This is a thumb-assisted push cut utilizing the non-cutting hand’s thumb.
The knife and wood hinge in a cutting motion (like scissors), using the thumb of the non-knife handle to push the back of the knife into the wood. This cut has a short cutting span, soft to medium power, and maximum control. A thumb-assisted push cut is a more controlled, detailed version of the chest-lever grip.
SOURCES
Randall’s Adventure & Training
RandallsAdventure.com
info@randallsadventure.com
Bear Forest Knives
BearForestKnives.com
A version of this article first appeared in the November 2022 print issue of Knives Illustrated.