
 Subscribe / Back Issues
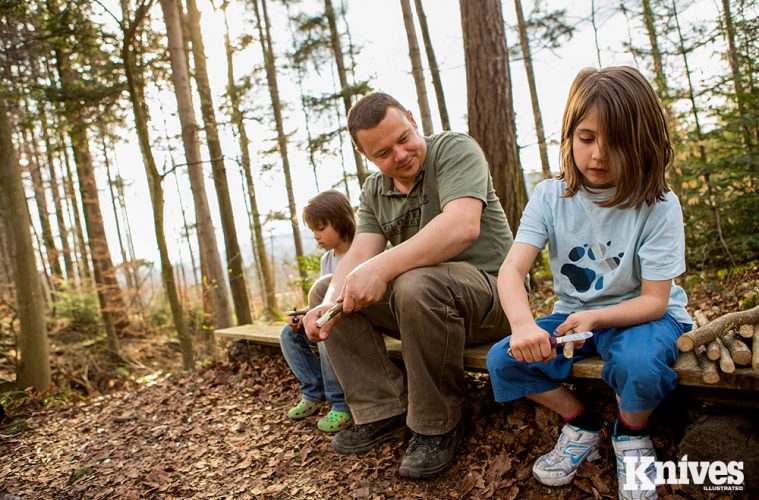
OPEN THAT SWISS ARMY KNIFE AND TEACH YOUR KIDS HOW TO CARVE PROPERLY, SAFELY
Carving is a wonderful hobby for young and old. It is 100% analog, works completely battery-free, and has no need for a 5G network. This hobby accompanies us on any adventure and creates valuable experiences outside the digital world. It is creative, meaningful, and invites us to engage in and with nature.
Personally, I found so much joy in carving that it became my profession. Since 2014, I have held more than 400 carving workshops with a wide variety of client groups. So, how do you introduce your kids to it?
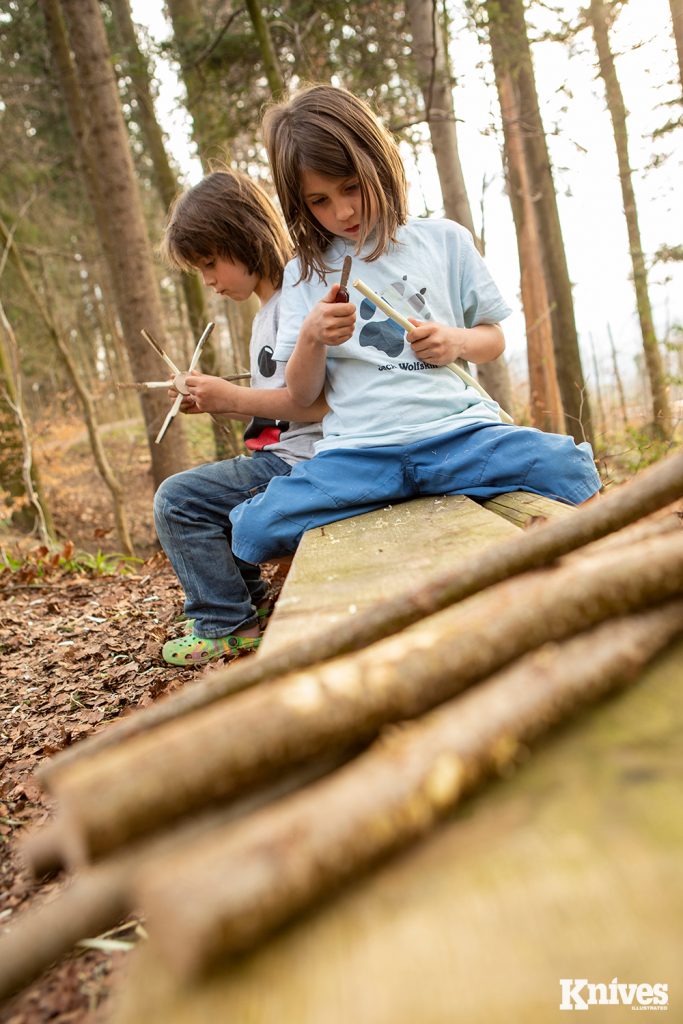
Setting a goal of completing a particular carving project can be a great quiet-time activity for children.
GOOD GUIDANCE REQUIRED
Carving promotes and challenges important skills in the development of a child: endurance, strength, fine motor skills, knowledge of materials, imagination, and much more. If kids want to carve, they need peace and concentration, the right knife, and suitable projects. But in my opinion, the most important thing is good guidance.
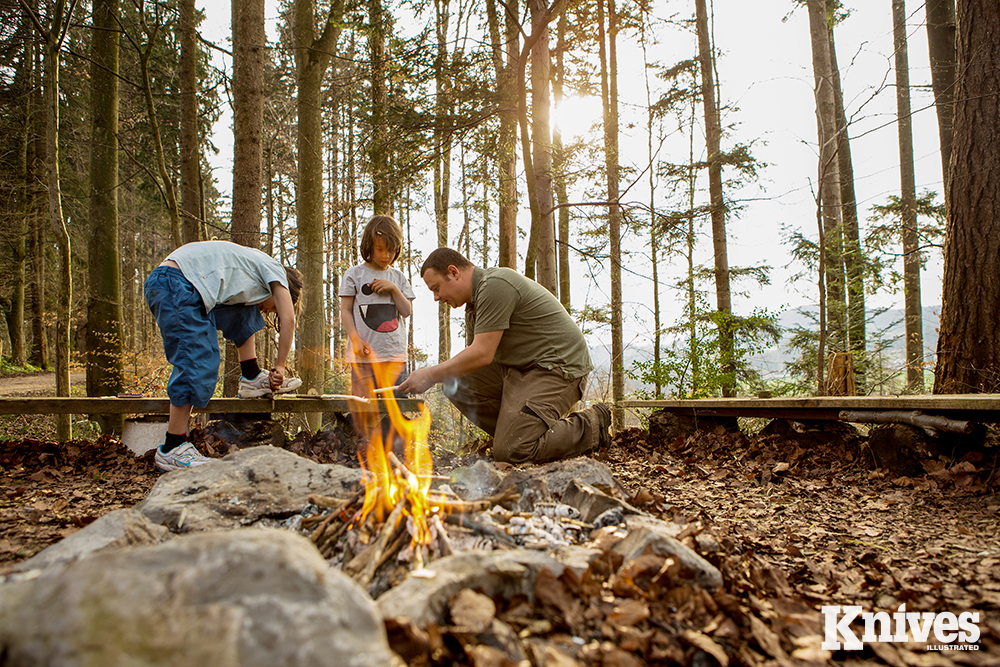
Learning to carve is a process, like learning how to ride a bicycle. Kids cannot learn it within two hours. They need a lot of practice and a good, patient teacher. With a good role model by their side and a worthwhile goal in mind, kids’ willingness to stay focused and practice the necessary techniques increases.
Further, carving in a team is fun and strengthens the relationship with the child. Nothing is more unifying than working together towards a common goal. In the end, carving is a wonderful invite to build relationships between two generations.
A Swiss Army Knife model that includes a saw blade can be very useful for many carving projects.
THE RIGHT KNIFE
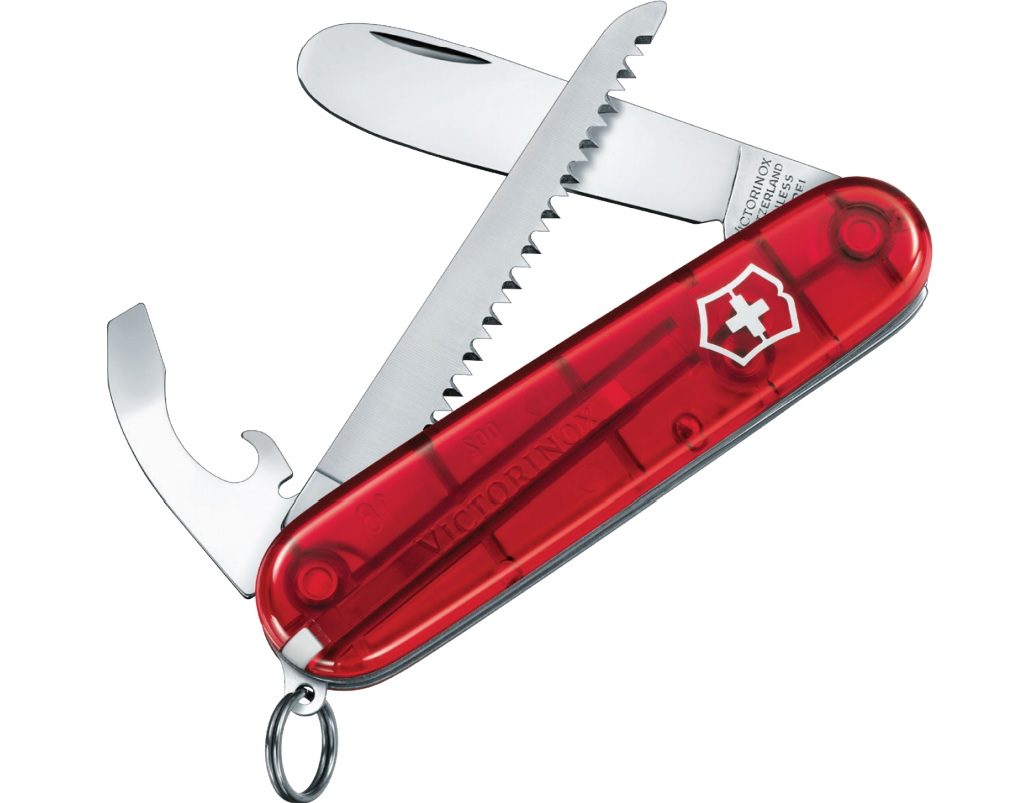
A knife model called My First Victorinox H with its rounded tip is suitable for very young carvers. Victorinox photo
I got my first pocketknife from my godmother when I was 8 years old. It was a Victorinox Huntsman. Today, I still have this knife and use it regularly. In terms of emotional value, it is clearly my most valuable knife ever. I can’t remember any other gift in my life that I have enjoyed for 40 years and that I am still happy to use after such a long time.
A Victorinox pocketknife is of high quality to last a lifetime, if you don’t lose it. And for this reason, it is important to engrave your name on the knife.
For children, Victorinox offers a model called My First Victorinox, a special knife with a rounded tip. In addition, some models lock the open blade. These safety features make perfect sense for kids and prevent stabbing injuries or the unintentional folding accident.
However, I’m glad that I got a “pointy” knife right then. I would have lost joy with a children’s knife after a few years. My recommendation is to let children up to 7 years of age work with a My First Victorinox knife.
From the age of 7, I think it is responsible to let kids work with a pointed knife, provided that the child is closely supervised during the carving process.
Teaching kids to carve safely instills them with responsibility and discipline. And it’s fun too.
THE CHILD’S INITIATIVE
It’s not set in stone when it is the right time to teach a child how to use a knife. I have already seen 5-year-old kids who carved amazingly safely. But I have also seen 13-year-old children I wanted to stop immediately and take the knife away from them.
It seems important to me that the initiative comes from the child. This shows that he or she is interested in learning the safety rules and techniques.
KNIFE HANDLING SAFETY
If children learn how to handle pocketknives properly at an early age, they will enjoy this hobby for the rest of their lives. Memorizing safety rules not only prevents injuries, but also teaches kids responsibility and discipline, important qualities when dealing with any knife.
To make it fun to learn the rules, we have illustrated them vividly. The illustrations give kids a visual learning aid and just by looking at the pictures several of these important rules are easy to understand.
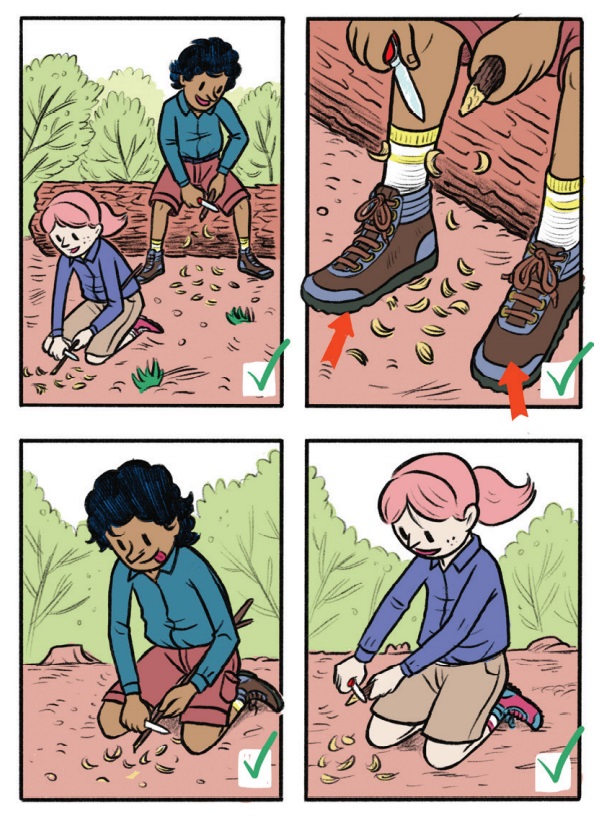
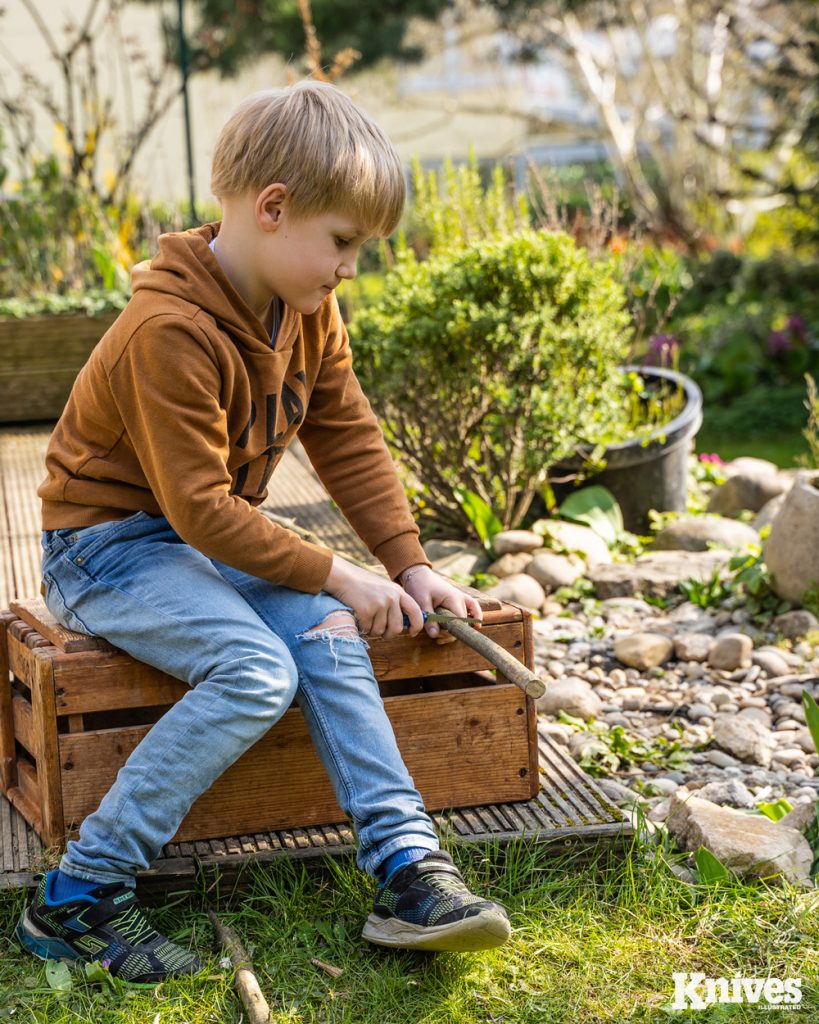
1. WHEN YOU CARVE, YOU SIT
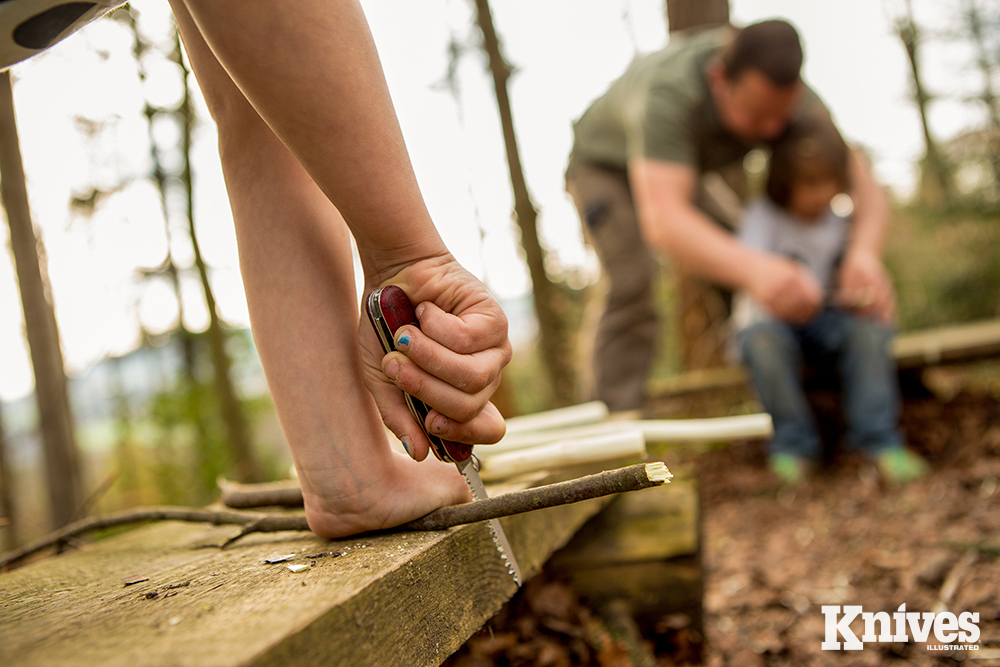
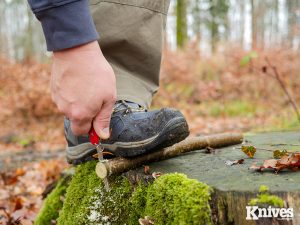
It’s very important that you are sitting down or kneeling when doing any carving or whittling. Both feet should be on the ground. The only exception would be when sawing something—here you could place a knee or a foot on something such as a tree stump and use it to stabilize the wood you are sawing while the other foot remains on the ground.
2. CARVE AWAY FROM THE BODY
Always make sure that the knife moves away from your body when you are carving. This is easily done in a sitting position and helps you to avoid injuries in case the knife slips. If you wish to carve a sharp tip, move the knife away from you and sideways at the same time, this helps you to create a sharp tip without needing to apply too much pressure.
3. AN ARM’S LENGTH AWAY
If you are going to carve something, ensure that no one else is within an arm’s length of you. This helps you to keep a safe space around you and prevents accidents for you and for those around you.
4. ONLY CARVE WITH A SHARP BLADE
Make sure your blade is sharp before doing any carving. A dull blade means you will need to exert more pressure and the blade is more likely to slip, causing injury. You can do the paper test to see if your blade is sharp. A sharp blade should be able to cut a piece of paper easily without resistance.
5. ONLY OPEN ONE TOOL AT A TIME
By far the safest way to use your Swiss Army Knife is to use only one tool at a time. Although the many tools are undoubtedly one of the attractions of these pocketknives, opening more than one at a time risks injury, so be sure to close one tool before opening the next.
6. STOW YOUR KNIFE WHEN YOU ARE NOT USING IT
Finished your carving adventures for the time being? Then close your blade carefully and put your knife away. This is much safer than leaving a knife lying around with the blade or with another tool open. When the pocketknife is closed and out of reach of younger children, then no one can get hurt.
7. PASS ON A CLOSED POCKETKNIFE ONLY
Similar to rule number 6, never pass on or hand your pocketknife to someone else if a blade or other tool is still open. Be sure to carefully close the knife before giving it to someone else.
8. DON’T CARVE A LIVING TREE
If you love spending time in the forest, it makes sense to respect the trees. Therefore, please don’t carve the trunk or branches of a living tree and leave it intact for others to enjoy.
9. A SWISS ARMY KNIFE IS NOT A WEAPON
You should never ever use the Swiss Army Knife as a weapon, even if you are just playing. The blades are sharp and could cause serious injury.
OPEN IT, CLOSE IT, USE IT
Also to be explained to kids is the proper technique for opening and closing a pocketknife, the correct posture and also the proper carving position:
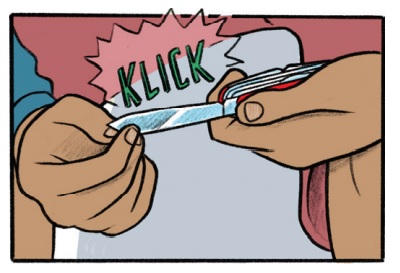
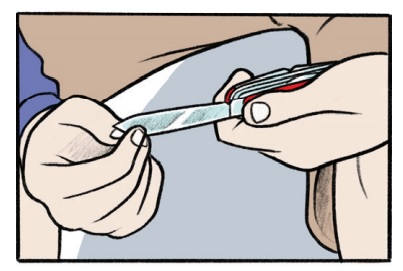
TO OPEN:
Take the knife in one hand so that the heel of the hand and thumb rest on one side. The remaining four fingers rest on the other side. This ensures a very stable grip.

Grasp the notch with the thumbnail of the other hand and clamp the blade with the index finger on the other side.
Pull out the blade and flip it open so that the open blade is facing away from you.
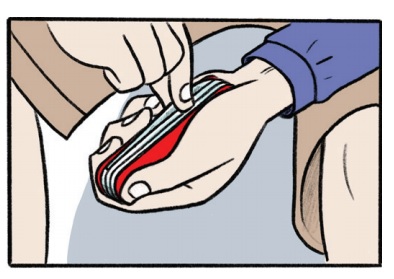
TO CLOSE:
Take the knife in one hand so that the heel of the hand and thumb rest on one side. The other fingers rest on the other side. This ensures that you hold the knife very stable in your hand.
Hold the knife with one hand and press the blade down with the other hand.
Fold the blade all the way in.
THE FIST GRIP IS THE BASIC GRIP:
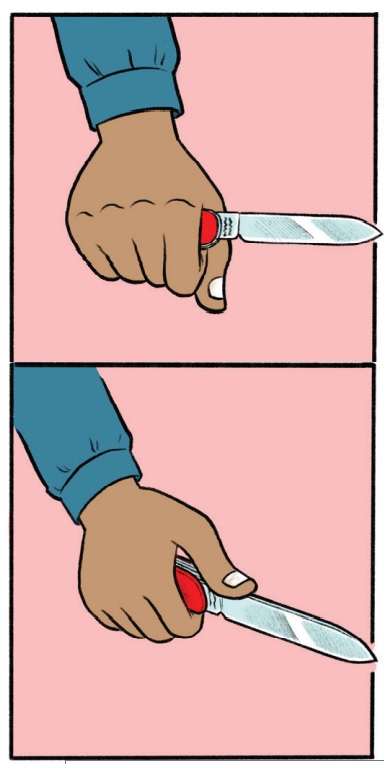
It is important that the knife is held close to the blade. The thumb can also be placed on the back of the knife. Attention: The blade must not fold.
THE CORRECT CARVING POSTURE
The correct carving posture is sitting or kneeling, with the feet on the ground, or carving in front of the knees or to the side of the thigh.
CARVING IDEAS FOR THE FAMILY CAMPING TRIP
Once out and about in nature, it is of course high time to apply the knowledge you have learned and carve something great. For example, how about a spinning top, a fork, or even a water wheel?
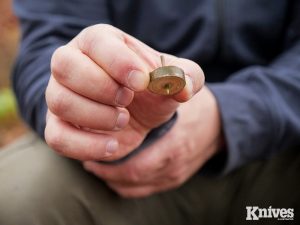
The Spinning Top
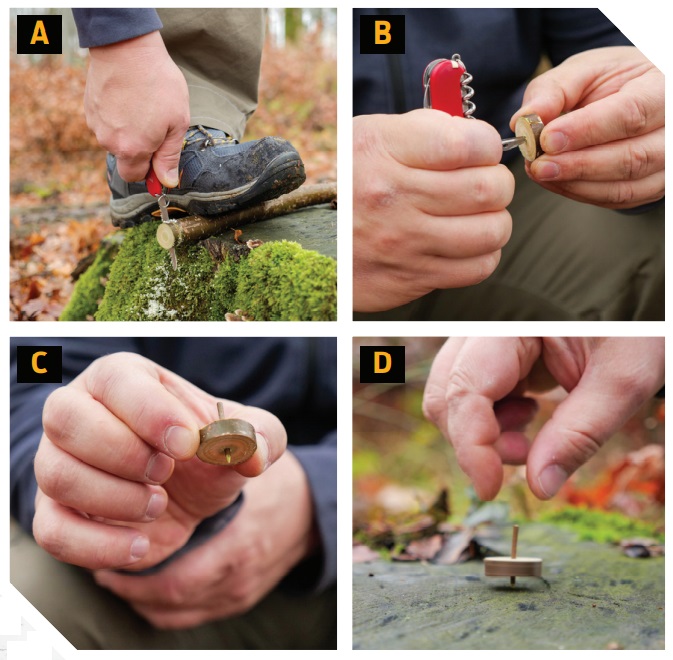
A spinning top made from a branch as thick as your thumb is the perfect way to start. First, find a piece of branch that is as round as possible with the pith in the middle. Then saw off a 1/8 – 1/4 inch (4 – 8 mm) thick slice with the cut surfaces as parallel as possible (picture A). Then, using the awl, drill a small hole through the pith of the flywheel from both sides (picture B).
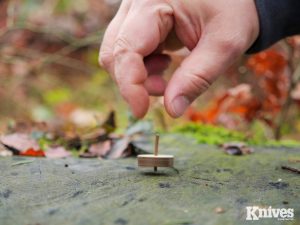
Now a dry twig is needed. From this, cut out an axle that is approximately 1 ¼ inch (3 cm) long, has grown straight and is 1/16 – 1/8 inch (2 – 3 mm) thin. Sharpen the axle a bit and push it through the hole in the flywheel (picture C).
The axle should jam a little in the flywheel. If the spinning top does not run smoothly, rotating the axle or making a fine correction to the tip or outer contour can improve the runout. (picture D)
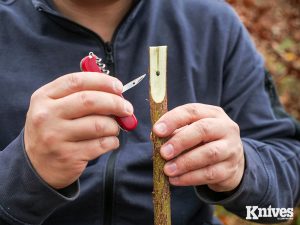
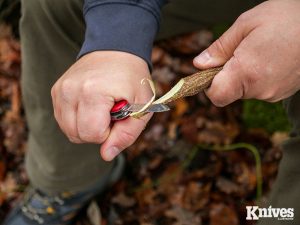
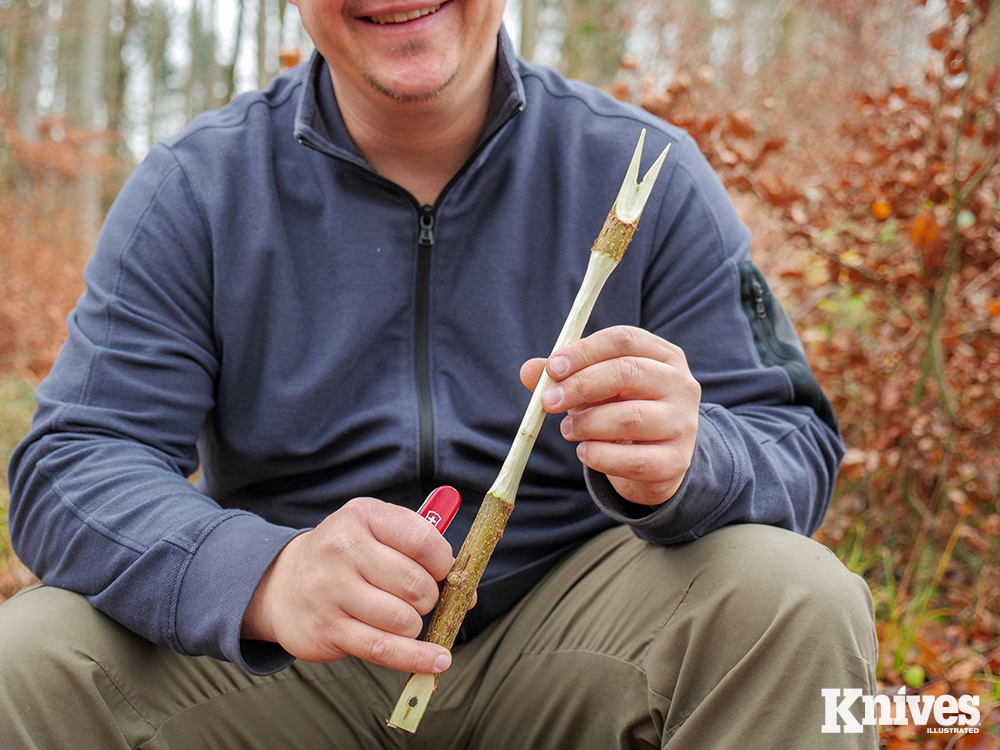
The Fork
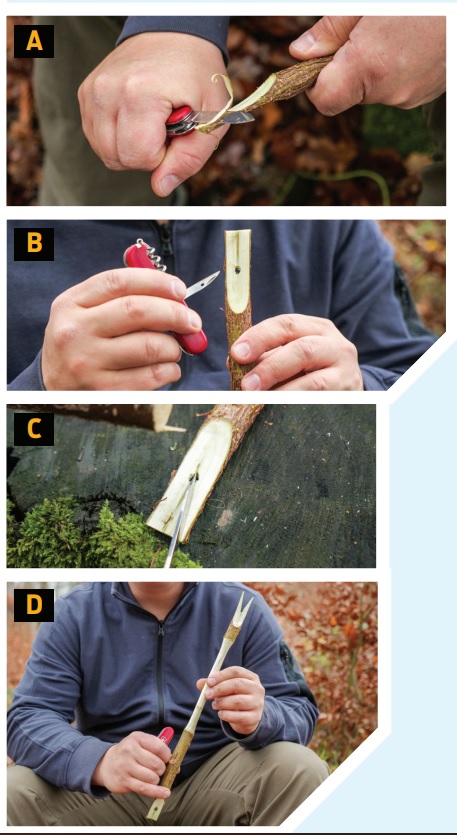
Also suitable for an easy introduction to carving is the practical fork. It consists of the handle, the stem and the prongs. First, we need a ¾ to 1 ¼ inch (2 – 3 cm) thick stick. Saw it to the desired length and carve two parallel surfaces on one side of the stick so that your stick looks like an oversized screwdriver (picture A). Then drill a hole in the surface with the awl (picture B).
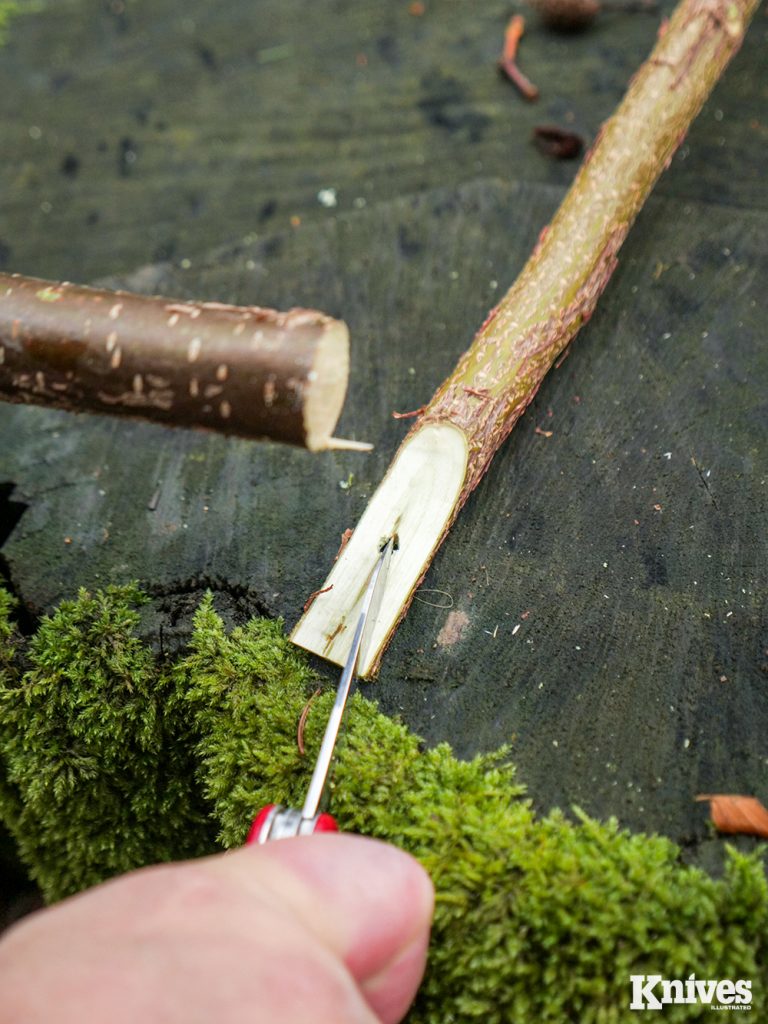
Then use the large blade to split out a “V”. To do this, place the tip of the large blade on one side of the hole and place the knife to almost form a point. Then hit the back of the knife with a strong branch (picture C).
Repeat this process to split a V from the flat carved part of the stick. Voilà, the fork is ready for use (picture D). If you wish, you can remove the bark all the way to the handle or carve a pattern into the handle.
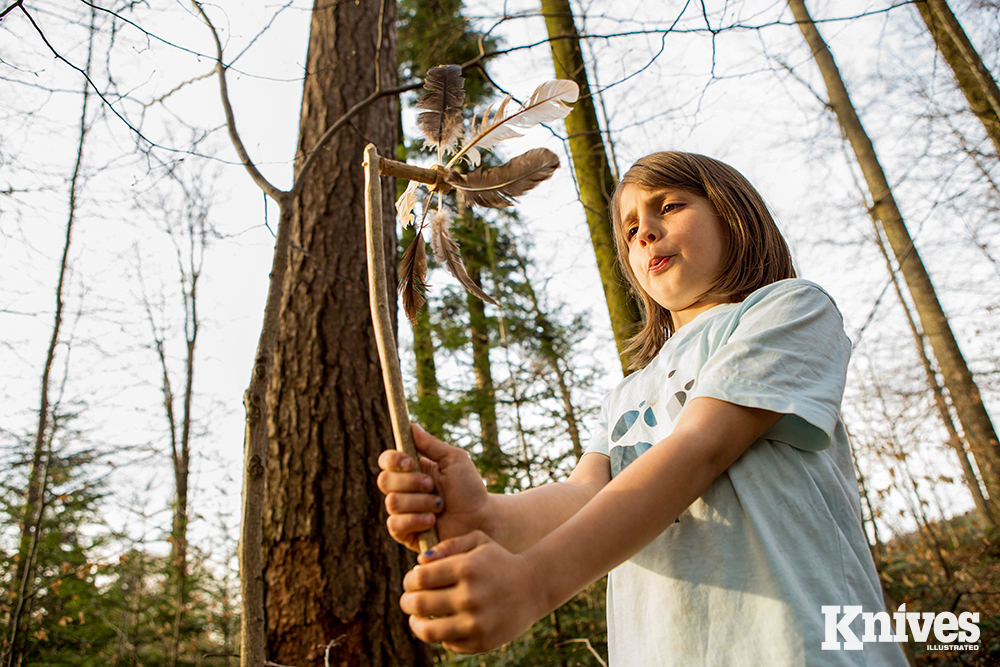
Having a specific project or goal in mind, rather than just carving randomly, can help kids to maintain focus and interest.
CARVING IDEAS FOR THE FAMILY CAMPING TRIP (continued)
THE WATER WHEEL
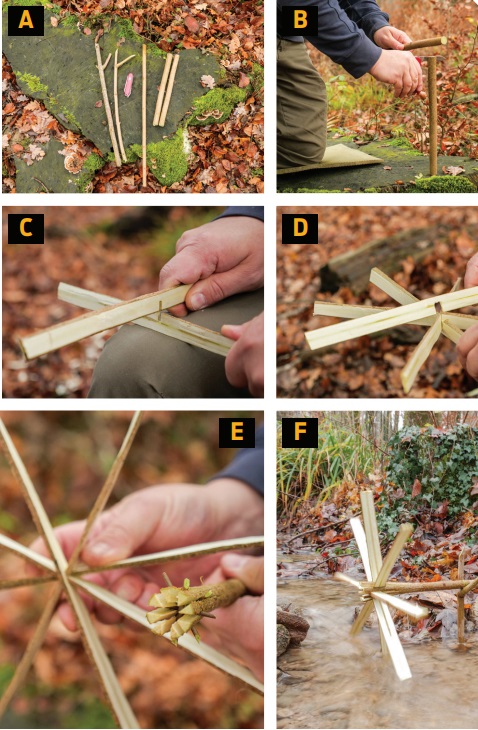
If the two projects above are too easy for you, I have another slightly more difficult one. For the water wheel, we are looking for two branch forks: a straight branch about ¾ inch (2 cm) thick and two sticks about 1 ¼ inch (3 cm) thick and 1 foot (30 cm) long, and if possible, made of birch wood (picture A).
First, split the two branches for the shovel boards lengthwise (picture B). Carve away material on the second, round side until you have four boards with a thickness of about ¼ inch (5 mm). Then draw the center on all the boards. Now saw an approximately ¼ inch (5 mm) wide recess in two parts up to the center and insert the two parts into each other to form a cross (picture C).
Now you can determine how wide the groove for the second pair of paddle wheels must be. Saw these grooves slightly above the middle of the width of the paddle and pin all boards together to form a star (picture D). Now split four times on the front side of the axle with the large blade. Start with a cross, then add two more gaps at a 45-degree angle.
By turning the blade, you can lengthen the gaps until they are about 4 inches (10 cm) deep. Find small branches and spread the gaps with them (picture E). Then press the paddle wheel onto the axle. This is a bit challenging. Now you can put the water wheel into the current of a stream (picture F).
Carving is a wonderful invitation to build relationships between two generations.
About Felix Immler
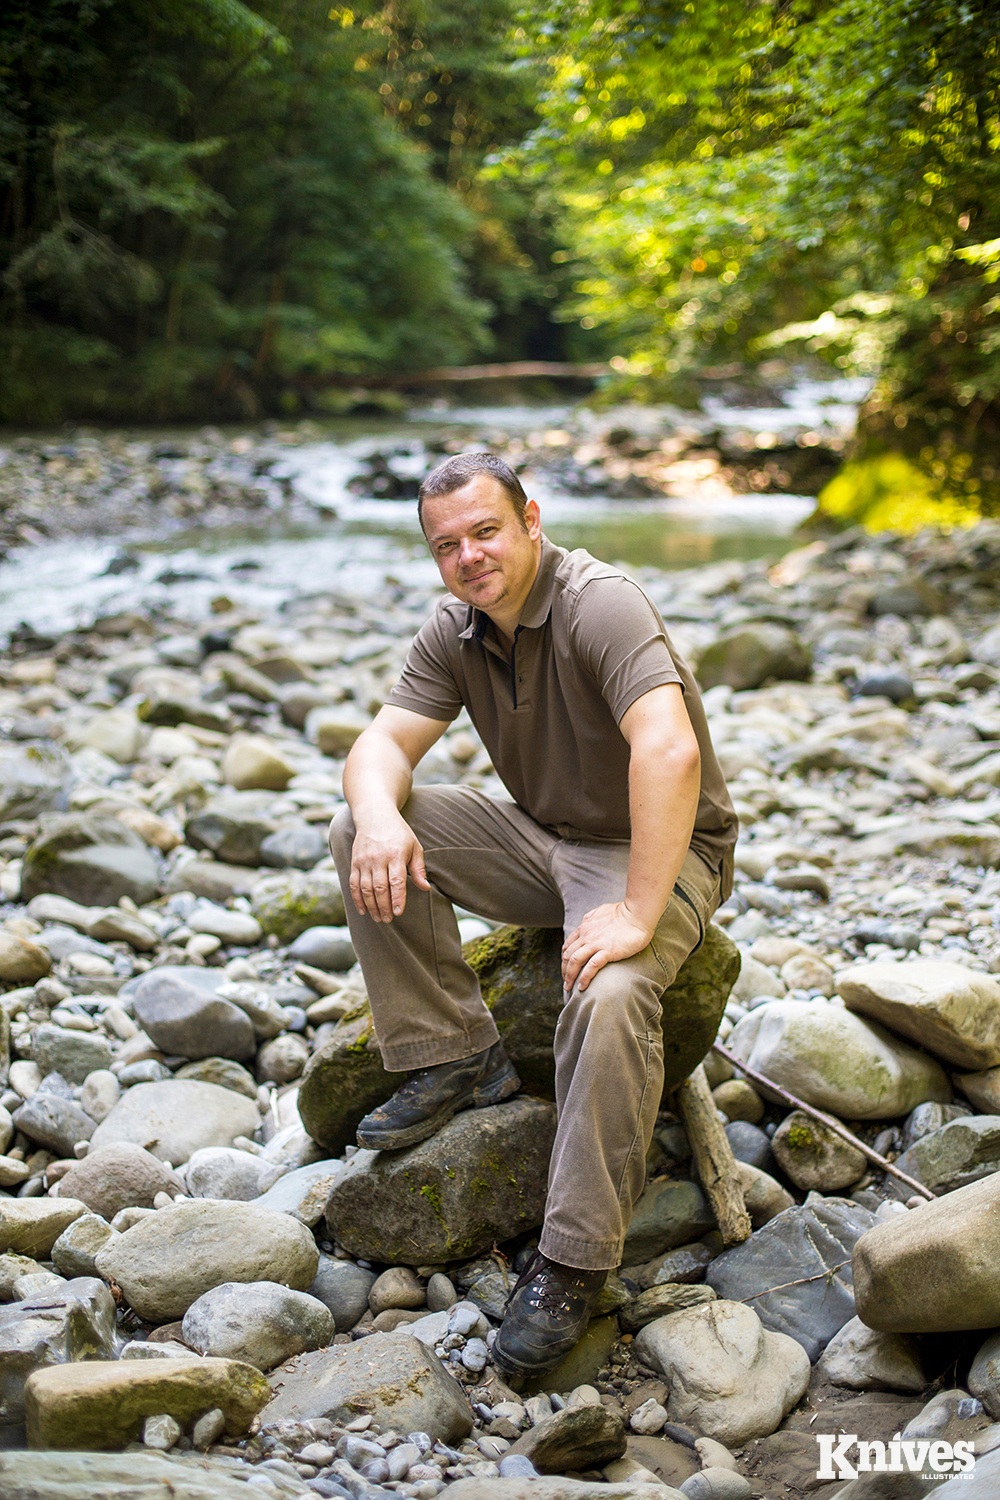
Felix Immler has been instructing kids on proper knife handling and carving for many years.
Felix Immler is a trained machine mechanic, social worker, and nature educator. Following his work as a mechanic, Felix started to work as a social worker in a children’s home. He liked to spend time with the kids in the forest and started his education as a nature educator.
In order to offer the children an exciting program in the forest, he started various carving projects, which met with great approval. Thus, the idea for a pocketknife course was born and soon after that his first book followed.
In the meantime, he has turned his passion into his profession. Since 2014, he has been working for Victorinox as a pocketknife instructor, giving courses in the safe use of knives.
On his YouTube channel “Felix Immler” with more than 80,000 subscribers worldwide, he regularly posts pocketknife and bushcraft videos. Felix has also published three books and sold more than 150,000 of them.
LEARN MORE BY WATCHING THESE IMMLER VIDEOS
Small blade:
Victorinox Tips & Tricks (8/25)
Youtube.com/watch?v=rS4DXIJARjY
Large blade:
Victorinox Tips & Tricks (1/25)
Youtube.com/watch?v=EmY9WEl4DDw
Wood saw:
Victorinox Tips & Tricks (10/25)
Youtube.com/watch?v=ZNqELHO1rI0
Awl: Victorinox Tips & Tricks (17/25)
Youtube.com/watch?v=7zaNfV4-rag